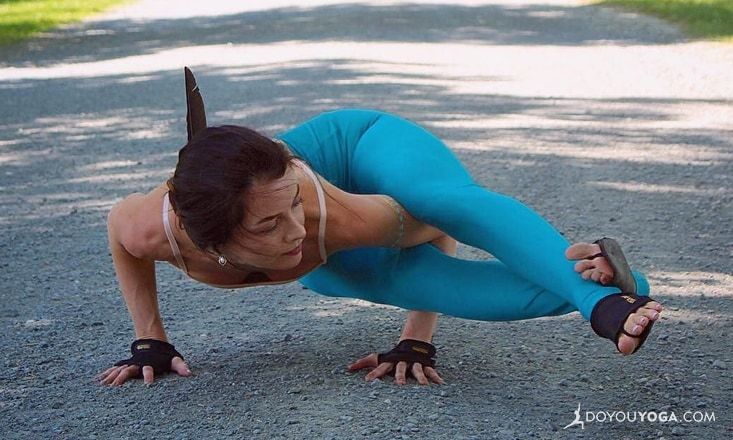
Astavakrasana (Eight-Crooks or Eight-Angle Pose) is named after the sage Astavakra, the spiritual guide to King Janaka of Mithila. As the story goes, before Astavakra was born, his father was reciting the Vedas and made several mistakes. The young sage laughed from within his mother’s womb at his father’s mistakes, which angered his father. Consequently, his father cursed the unborn child to be born crooked in eight (asta/astau) places.
Astavakrasana is more intimidating-looking than it is actually challenging to practice. With a bit of warm up in the hips and engagement of the arms, this pose is definitely attainable in this lifetime. As you build up to Eight-Angle Pose, warm-up with 3-5 rounds of Surya Namaskar A (Sun Salutations A) and 3-5 rounds of Surya Namaskar B (Sun Salutation B).
1. Increase Arm Awareness in Chaturanga Dandasana
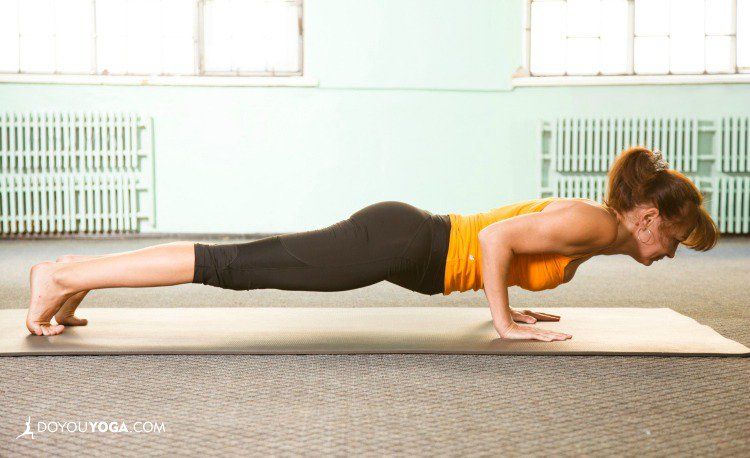
Eight Angle pose is primarily an arm balance, so having the upper body strength and awareness to hold yourself will be the first step.
Practicing holding Chaturanga Dandasana for an extra 3-5 breaths provides time for the body to remember that shoulders do not drop lower than the elbows and the elbows rest directly over the wrists. This same action is required in Astavakrasana.
2. Open the Hips in Kurmasana
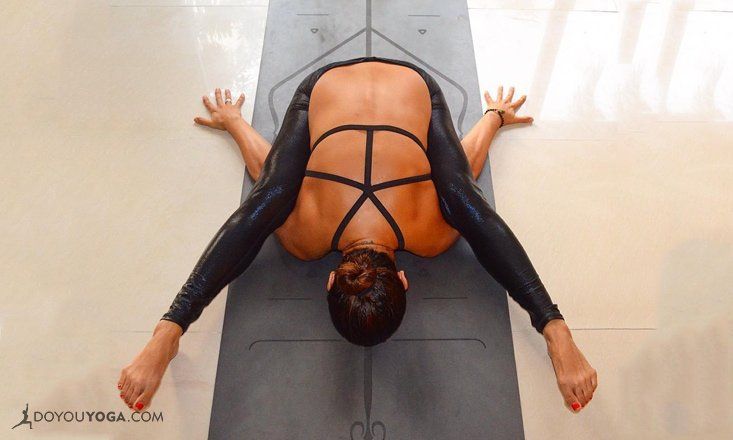
Eight-Angle pose is an asymmetrical arm balance that requires a significant range of motion in the hips, flexibility in the hamstrings, and openness of the lower spine. Kurmasana, also known as Turtle or Tortoise pose, is a great posture to open the hips, lower back, shoulders, and stretch the hamstrings without having to fly quite yet.
While you are working on upper body strength, it is equally important to increase flexibility throughout the hips, back, and hamstrings.
3. Challenge the Core in Navasana

To avoid dumping all the body weight into the wrists and shoulders, it is important in all arm balance poses to have a strong core that will help lift the body.
While you will get substantial core work in Chaturanga Dandasana, it can be helpful to add variety to any practice, and Navasana or Boat pose is a great challenge for the core, as well as overall body balance.
4. Play with Balance and Engagement in Bhujapidasana
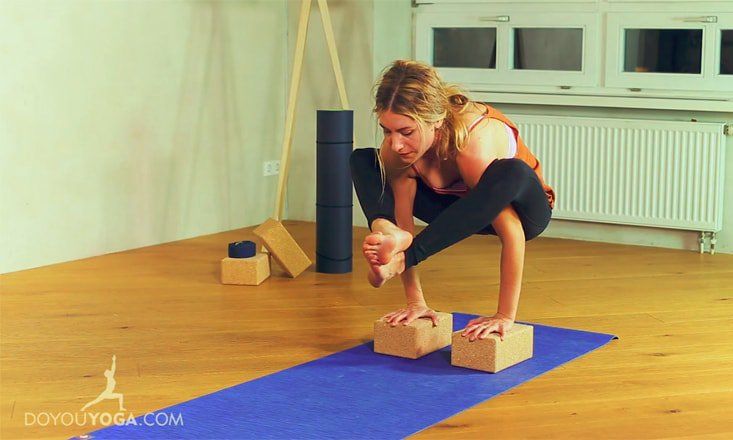
Bhujapidasana or Shoulder Pressing pose can be a fun place to start plugging into the arms as you try to lift your bum off the mat and gently tip the shoulders forward. This is sometimes easier for newer yogis because there is less fear of falling on your face.
However, it can also be more difficult to lift up the bum in Bhujapidasana because so much weight is in the back whereas in Astavakrasana, weight is distributed over a wider area.
Step-By-Step Guide to Astavakrasana
1. Open the Hips
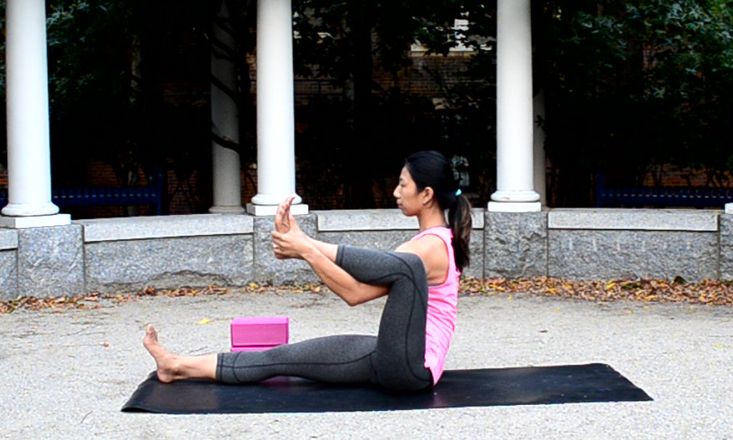
From Dandasana, lift one leg up and reach the knee as close to the armpit as possible. Keep the extended leg engaged to ensure the sit bones stay rooted, as well as maintain the stretch in the hamstrings to avoid posteriorly tilting the tailbone and rounding the spine.
The same arm as the lifted leg will drop to the inside and the forearm will wrap underneath the calf. Use the hand to stretch the leg closer to the armpit and rest the leg as high up on the upper arm as possible.
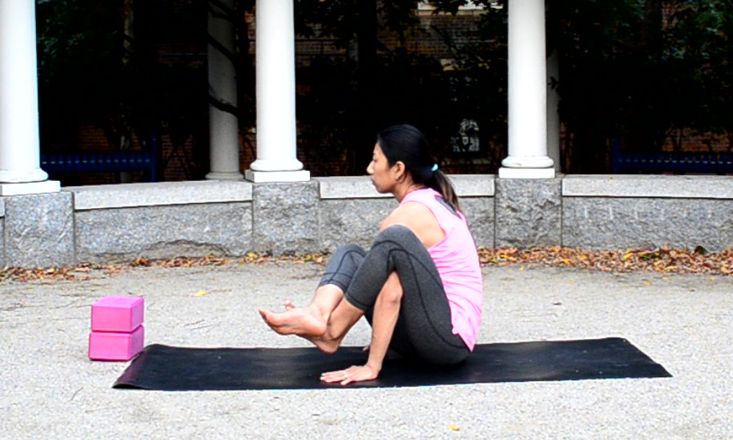
2. Engage the Lifted Leg
As you lower the arms toward the mat, gently squeeze the thigh and calf of the lifted leg around the arm so that the leg does not lose contact with the upper arm.
Tightness in the hips will show up in two ways: 1) the sit bone on the side of the lifted leg will want to come off the ground, and 2) the knee of the lifted leg will want to open up to the side. Keep reaching both sit bones down and squeeze the knee towards the midline of the body while the thigh and calf hug the upper arm.
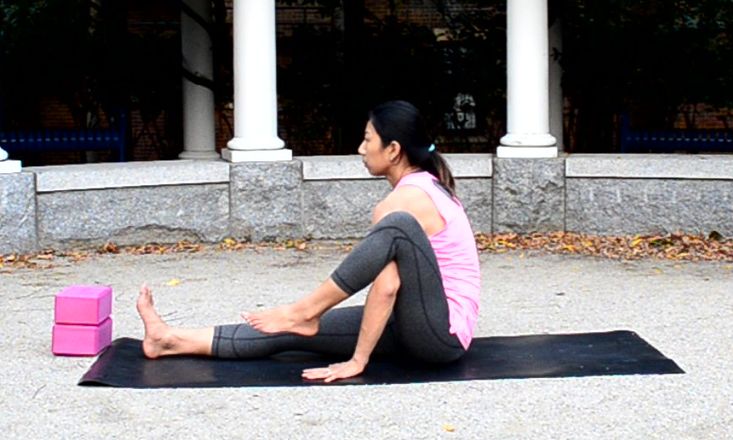
3. Cross the Feet and Shift Weight Into the Hands
Flexing both feet, the lifted foot is going to act as a table top/support for the bottom leg and foot. Start to slowly place more weight in the arms. If the hands were too close to the hips at the start, it will feel nearly impossible to lift the hips off the ground.
Imagine the legs were still straight in Dandasana, the hands should be placed near the middle thigh or even close to the knees. Do not worry about rounding the spine at this point; the length in the back will happen gradually, especially when preparatory poses like Kurmasana get easier.
4. Extend the Legs and Tip Forward

You are finally ready for take off, this will be the most fun and most mentally challenging part. Both legs need to hug together, feet guiding the shift as they extend out and straighten the legs. The upper arm will be acting as a shelf to hold the body up while the legs work to straighten, the shoulders reach forward, and elbows work to stay over the wrists.
Want a fun balancing challenge? Look at your feet in this pose. Using cork blocks on the lowest level under both hands will provide extra height in the arms to help lift the hips, as well as create enough stability to make flying a little easier as you work on this pose.
Have fun playing and comment below with any questions for additions for fellow yogis!
Image Credit: Odette Hughes