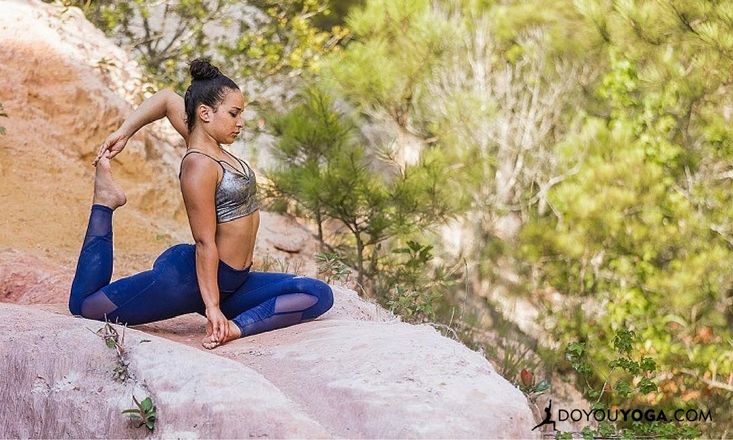
Eka Pada Rajakapotasana is fun to say and amazing to experience in the body. Known as One-Legged King Pigeon Pose, it is a deep backbend for the upper back that borrows from the puffed upper chest of pigeons. Most of us struggle to achieve the full expression of the pose. Here are some tips to help you get there.
1. Prepare the Body
Start preparing the body by opening the hip flexors, increasing the range of upward and backward movement for the arms, and heating the smaller muscles along the spine.
2. Scissor the Legs
Any pose that has one leg in front and one in back requires us to energetically draw the legs towards each other at the center of the mat in a scissoring movement. This behavior needs to continue throughout every aspect of the pose to keep the spine safe.
3. Bend the Back Leg
From Pigeon Pose, instead of moving forward to focus on the buttock stretch, bend the back leg and bring the foot towards the bum. Maintain the notes of scissoring in the second point.
4. Use a Strap as a Prop
Next, loop a strap around the back foot while the leg is still bent. While holding onto the tail end of the strap, reach the arms up to the sky, and press the foot into the loop. As you feel that resistance, bend the elbows and walk the hands down in order to lift.
Students make the mistake of rushing the hands towards the back foot. This is guaranteed to compress your lower back and hurt. Instead, press the hands into the strap and lift up, away from the foot. Press the foot back into the loop and move it away from the hand. This opposition, of the hands and foot moving away from each other, will actually create more space in the spine so that the hands can safely move a little closer to the foot.
Now repeat it all over again, acting as if you don’t want to get to the foot. Once the hands do get to the foot, start all over again, pressing the foot back into the hand as the hand pulls away from the foot. Continue scissoring the legs and lift the upper back away from the waist.
5. Try Without Props
Now you are ready to try this without any props. Reach back with your hand to clasp the foot and bring it closer. Now draw your elbow in towards your spine and scoop it down towards the floor and then outward to the sky, which will change the rotation of the arm and allow your hand to hold onto the toes instead of the foot/ankle region.
Scissor the legs to hold balance and bring the second hand to the toes as well. Press the foot back away from the hands as the hands pull the foot. Lift the body up, lift the spine, and lift the back ribs. Breathe fully into the heart region, expanding the chest to the ceiling.
On your way out, keep the scissoring in the legs as you release the foot, and control the slow descent of the leg back to the floor. After you do this on both sides, it’s always good to calm the body with a forward fold that feels safe so that you can elongate the muscles in the back after the fabulous contraction.
The most important piece of advice I can offer is to take your time. In rushing towards some ideal of the pose, you push the pose away. Enjoy the tiny pieces of the process to practice being present with the nuances in your life. Then you will become as wise as a king, and as royal.
Image credit: Sanáa Jaman