Lower back pain is one of the most common bodily complaints and can quite literally be debilitating.
It can happen to anyone; those who lead sedentary lives as well as yogis and athletes alike can all experience lower back pain at some point in their lives.
What Causes Lower Back Pain?
The lower back is a very vulnerable region of the body. Unlike the upper (thoracic) spine, the lower back is not protected by a nearly immobile rib cage. Conversely, the lower back is an incredibly mobile region of the spine, which can cause it to overload and overbear movements that the upper back cannot support.
Continuous sitting all day long (as many of us do) can lead to a chronic shortening of the hamstrings and iliopsoas, which can essentially “pull” on the muscles of the lower back creating tension and pain in the region. A strong core (to protect the spine) and lengthened surrounding muscles are your best defenders against lower back pain.
The following are four yoga postures that can help ease lower back pain, but please do note that if you have a serious injury or chronic condition of the lower back, such as a herniated disc or sciatica, then you should speak to a healthcare professional before attempting any exercises or stretches to relieve your condition.
1. Sphinx Pose

Start lying down on your belly with your feet hip-distance apart, creating a subtle internal rotation of your thighs (so letting them roll in toward each other). Align your elbows directly underneath your shoulders and roll and relax your shoulders down your back to create a broadening through your chest.
Press the tops of your feet firmly down into the floor and press your pubic bone down and forward in space. Try to relax the muscles of your glutes and your lower back. Soften your breath and hold for as long as it feels comfortable to you.
2. Supta Padangustasana (Reclining Big Toe Hold)
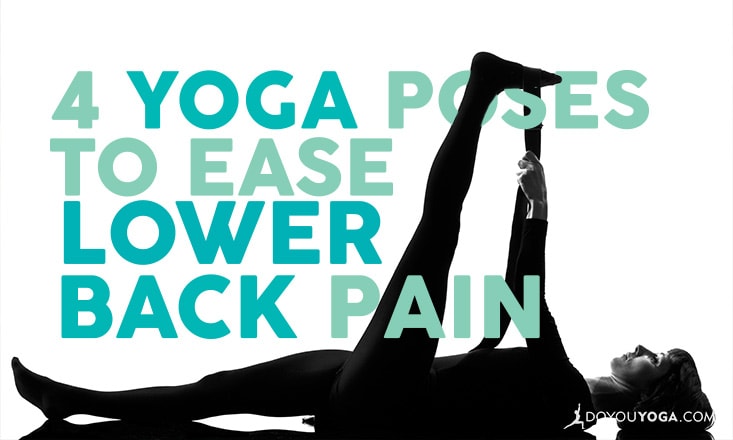
A release to your likely tight hamstrings, this pose helps to relax the muscles that may be “tugging” on your low back.
Lie down flat against your back with your legs extended forward in front of you. Hug one knee into your chest and either take a hold of the big toe with your your first two fingers and thumb (a.k.a. yogi toe lock) or wrap a strap, belt or towel around the ball of your foot.
Gently begin to kick and extend your foot straight up toward the ceiling to straighten your leg as much as is possible while still feeling a sense of comfort and ease within the stretch.
Relax the weight of your leg toward the floor so that you feel the sensation of your femur bone (your thigh bone) relaxing into your hip socket. Draw your foot as close toward your face as feels comfortable for you until you feel a nice, gentle stretch through the back of your leg.
Soften your shoulders and your neck and relax your lower back. Hold for about two to five minutes and then gently release out the way that you came in and switch legs.
3. Reclining Twist
 Credit: Tips From Town
Twists are excellent releases for the lower back to help break up tension in the muscles and balance each side out. They are great “neutralizers” of the spine and can be used as a counter-pose to many other asanas.
Begin lying flat against your back with your legs extended forward. Draw your knees in toward your chest and wrap your arms around your shins to give yourself a big hug. Release your hands but keep your legs in place as they are. Place your hands out wide into a T-shape on either side of you with your palms facing the floor.
Inhale to lift your hips and scoot them about 2 inches to the right side of your mat. As you exhale, relax both knees toward the left side of your mat. Try your best to keep the knees stacked directly on top of each other. You can decide how deep you would like the twist to be: the closer the knees are to your armpits, the deeper the twist will be; the further away they are, the gentler.
Soften your shoulders toward the floor trying to keep them in contact with your mat. Relax into the opening and, when you’re ready, switch to the opposite side.
4. Viparita Karani (Legs Up The Wall)

Walk your hands backwards in space until you can relax your whole torso flat against the floor. Scoot your seat in as close to the wall as possible (ideally allowing your sit bones to touch the wall). And from here, soften and relax everything.
Allow the weight of your legs to surrender to the forces of gravity. Allow your whole back to melt down again the mat. Soften your breath and release for a few minutes to enjoy the wonderful benefits of this restorative inversion.
Practice all or a mixture of these four postures as often as possible and you will (hopefully!) see drastic results in regards to your lower back pain. Remember to always practice each pose with caution and care to maintain the integrity of your body’s posture so they can work to help release tension and tightness in the lower back muscles.
Relax and release into each position while maintaining a slow and steady breath. And surrender and soften, allowing your tension and pain to melt away.


