Low back pain radiating down the leg is known as sciatica, from the compression or irritation of the sciatic nerve—the largest and longest nerve in the body, originating in the lower spine and extending down the leg.
People with sciatica may also experience hip, buttock, leg, or foot pain, and may experience tingling, numbness, or weakness of the leg.
Many conditions can lead to sciatica, including a herniated disk, trauma, infection, and arthritis in the vertebral bodies that narrows the spinal canalcalled spinal stenosis. Rarely,the nerve compression can come from a tumor.
Sciatica is diagnosed through a physical examination by a medical professional and possibly an X-ray, MRI, or CT scan. General treatment is pain relief medication, and physical therapy to stretch and strengthen the muscles and to correct postural problems that cause or add to the problem. Most people recover without surgery, but sometimes surgery is recommended.
Yoga and Sciatica
Yoga can be extremely helpful in relieving sciatica. Like physical therapy, an appropriate yoga practice can stretch and strengthen affected muscles and enhance postural alignment.
In addition, yoga can also help sciatica sufferers relax chronic tension that may aggravate the condition, enhance their awareness so they recognize and change physical and mental habits that exacerbate sciatica, and relieve stress and improve their mood, which can ease pain.
While supine yoga poses where the spine is unloaded are the safest, straight-legged forward bends may make the problem worse. It’s important to work with a yoga therapist or teacher who is experienced in applications of yoga therapy for sciatica. Here are some basic postures to help relieve sciatica.
1. Seated Mountain Pose
In our sedentary culture, most people spend most of their days sitting down. Poor postural habits, like sitting on the sacrum and rounding the spine, can cause and exacerbate sciatica as well as contribute to respiratory, circulatory and digestive problems.
Anytime you’re sitting down, align your spine correctly in Seated Mountain Pose.
- Find your sit-bones, the two hard knobs at the base of your pelvis, called the ischial tuberosities. You can reach your hands under your bottom, feel for these knobs, then gently move the flesh of your buttocks aside to feel your sit-bones releasing down onto the seat.
- Place your feet on the floor or a footstool (if they don’t comfortably reach the floor). Take a moment to get grounded; root down through your sit-bones and feel your soles connect with the floor or footstool.
- From this place of grounding, extend the top of your head toward the sky, creating length in your spine.
- Keep your chin parallel to the floor—avoid tipping it up or tucking it in. Relax your shoulders down away from your ears, and stack your joints. If someone was looking at you from the side they’d see your ear over your shoulder and your shoulder over your hip.
- Imagine a light at your breastbone and shine this “heart” light forward, not down at the floor.
- If your chair doesn’t support this good posture, consider placing a support (such as a rolled towel) at your lumbar spine or lower back.
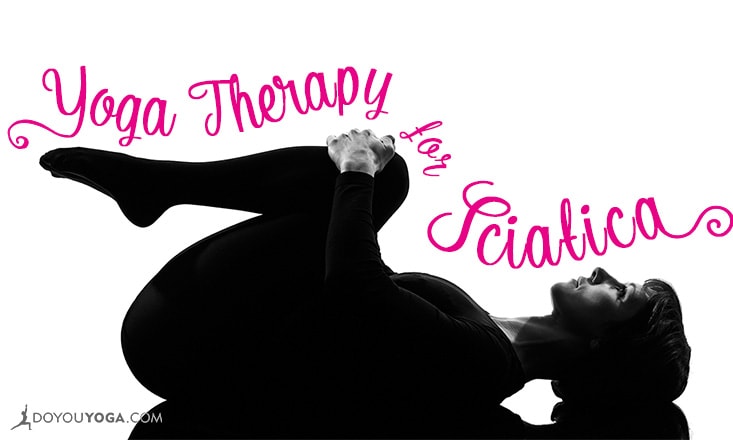
2. Knee-to-Chest Pose
This knee-hugging posture is arguably the single best way to stretch your lower back. Try it first thing in the morning, before you get out of bed, or anytime you need to ease out your back.
- Lie on your back, knees bent, feet hip distance apart. Take a full, easy breath in, then on an exhalation hug your right knee into your chest, holding your leg behind your right thigh. If this strains your shoulders, use a yoga strap, old necktie, or bathrobe belt to catch your leg. Stay here for a few breaths, drawing your right thigh in toward your body with each exhale. Relax your shoulders, arms, and face, inviting your breath to soften any tension you might feel.
- Release and repeat with the other leg.
- If possible, hug both knees in to your chest at the same time. If you like, rock gently from side to side.
3. Supine Leg Stretch I
- Lie on your back,knees bent, feet hip-distance apart.
- Hug your right thigh into your chest—gently holding behind your thigh or using a strap to catch your leg. On an inhalation, extend your right foot toward the sky, straightening your leg as best you can. On an exhalation, bend your knee, bringing your foot back down toward the buttock.
- Continue this movement at your own pace, for fiveto 10 breaths. Synchronize the length of your movement with the length of your breath, not rushing either one.
- Repeat with the left leg.
4. Supine Leg Stretch II
- Lie on your back, knees bent, feet hip distance apart.
- Hug your right thigh into your chest, extending your right foot up toward the sky.
- With your right leg as straight as comfortably possible, flex your right foot so your heel extends to the sky and your toes reach back toward your nose. Then point your foot so your toes reach to the sky. Repeat this slowly, five to 10 times.
- Continue flexing and pointing your right foot—this time spreading your toes as wide as possible as you your flex the foot and curling your toes inward as your point your foot. Repeat this slowly five to 10 times.
- Repeat with the left leg.
5. Thread-the-Needle Pose
- Lie on your back, knees bent, feet hip-distance apart.
- Bend your right knee and place your right ankle on your left thigh. Invite your right knee to move away from your chest.
- You can stay here and breathe into any places that feel tight. For more challenge, pick up your left foot, reach between your legs and hug your left thigh. Stay here for three to five slow, easy breaths.
- Repeat with the left leg.
6. Supine Supported Twist
- Lie on your back with your knees bent and feet on the floor. Position several folded towels on the floor to the left of your left thigh.
- Inhale, then exhale and drop your thighs and knees onto the towels. You’ll know the stack is the right height if you feel an enjoyable sensation of stretch in the right side of your back and hips. Feel free to make the stack lower or higher to find this gentle stretching sensation.
- Relax your shoulder blades down into your mat. Turn your head to the right and rest here for five to 10 slow, easy breaths.
- Return to the starting position, square yourself off and repeat to the other side.
7. Apanasana
Caution: If you’re pregnant, skip this pose.
- Lying on the floor or bed with knees bent, take a few easy breaths.
- Bring your thighs in toward your torso, hands resting on your knees. If this is uncomfortable, bring your hands behind your thighs or use a yoga strap to catch your legs.
- Inhale and straighten your arms, allowing your thighs to move away from your body—continue lightly holding onto your knees.
- Exhale and bend your elbows, drawing your thighs into your body as close as comfortably possible.
- Continue this action for five to 10 breaths, synchronizing your movement with your breath, creating a gentle pumping action.
- If you have a round body, feel free to open your thighs wider for comfort.
Do you suffer from sciatica? What other stretches and poses help you manage your pain? Share your thoughts and experiences with me in the comments.