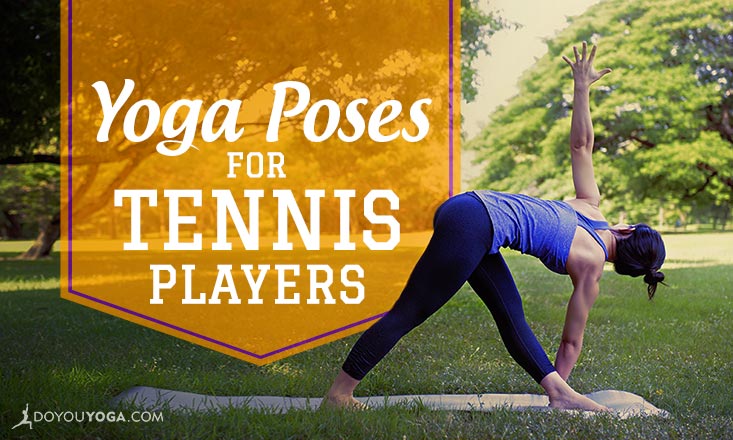
Tennis includes a lot of fast lunging, swinging and twisting on the court. Not to mention the demand for focus and a clear mind during matches.
Tennis usually is a one-sided sport, meaning one side of the body tends to be more developed than the other. There’s a dominant side that gets more action, and the knees and ankles get their own share during lunges and sprints on the court. Unequal development of the body can eventually lead to muscular misalignment resulting in pain in the back, hips, and even in the legs and knees.
Beneficial Yoga Poses
Beneficial yoga poses for tennis players focus on increasing mobility, muscular balance and balance in the spine. When the hips are stiff, the stress of movement often goes to the knees. Therefore tennis players also benefit from opening the hips and hamstrings to help with the rapid movements done during practice and games.
1. Cat and Cow Movement
 Credit: Jaclyn Nguyen
For warming up and stretching your back, do a few rounds of the Cat/Cow movement.
Start on your hands and knees. While inhaling, lift your chest and tailbone towards the ceiling, and while exhaling, arch your back, press through the shoulder blades and drop your head. Feel the muscles on your back, and take notice if one side feels tighter than the other.
Make 6-8 slow rounds.
2. Gomukhasana – Cow Face Pose

Start on your hands and knees, bring your right knee towards the hands, and take your right foot over the left knee. Your legs are crossed, and you can widen the feet so that you can slowly lower yourself between your feet. Sit on a block to make the pose easier on the knees. Take your right hand parallel to the floor, turn your thumb towards the floor and bend your arm behind your back. Take your left hand towards the ceiling, palm facing back, and bend the elbow to reach down.
If you cannot touch your hand, you can take a belt or a towel for more space. Stay for up to one minute, then switch sides.
3. Wrist Stretch in the Cow Face Pose
 Credit: Jacqueline Buchanan
There are many layers of ligaments in the wrists that can be damaged by repetitive movement. Slow Yin movements on the wrists can make these tissues thicker and stronger.
You can keep your legs in the Cow Face Pose, or come to sit on your hands and knees. Bring your palms to the floor, fingers pointing towards you. Adjust the position of your wrists so that you can bring the palm to the floor. You will feel a stretch on the inside of the forearm, and a slight pressure on the wrists. Stay for one minute. If you were sitting in Cow Face Pose, remember to also switch the legs.
4. Pigeon Pose
 Credit: Kristin McGee
The Pigeon Pose offers a deep hip opening position, stretching the quadriceps and hip flexors for the side of the leg which is pointed to the back.
Start on hands and knees, and slide your right knee between your hands. Be mindful of the right knee, and if the knee feels stressed, bring the right ankle closer to the hip. Center yourself so that your weight is even. You can support the upper body with your hands, or lower yourself to your elbows, or even completely to the floor. Stay three minutes, then change sides.
5. Parivrtta Trikonasana – Revolved Triangle Pose

Start by standing with your feet shoulder-width apart, and your left foot back. Leave your right foot facing forward, while you turn the left foot slightly outwards. Square the hips towards the front of the mat, and place your right hand on your right hip. While inhaling, bring the left hand up, and upon exhaling hinge from the hips, reach forward and place your left hand on the outside of your right leg (use a block if you need the extra length). Twist the upper body towards the right, keeping your right hand on your hip, or extending it towards the ceiling. Take 3-5 long breaths here.
6. Virabhadrasana II – Warrior II

Begin in Tadasana, and take a big step back with one leg. Turn the back foot parallel to the small side of the mat, raise your arms to shoulder-level, parallel to the floor, palms of your hands facing down. While exhaling, bend the front knee and bring it over the ankle. If needed, move the toes of the front foot so that your knee and toes are pointing in the same direction. Open your shoulders, keep your body centered, both feet active and feel the strength of a warrior for 3-5 breaths.
7. Vrksasana – Tree Pose

Put all your weight on one leg, and lift up the other foot to either lean on your inner thigh, or lower on your shin. Bring your palms together in front of the chest, slowly raise your arms above your head. Keep the arms shoulder-width apart or wider, if this feels better for your shoulders. Stay for 5-10 slow breaths, and enjoy the focused balance!
Tennis, as any competitive sport, is as much a mental game as it is physical. Yoga can help with this by bringing a state of calm within, no matter how hectic and competitive the outer world on the court gets.


