You might think that getting into inversions and arm balances is beyond your abilities, but maybe what’s limiting you is how you are looking at them.
Maybe you think that it’s all in the arms, but a lot of it lies in the core. No matter how much you try, if you have a weak core, poses like Crow or Firefly will seem impossible. So how do you strengthen your core to make these poses easier to get into?
I always have students ask me what they can do to build a stronger core. Below are the poses that I most often recommend.
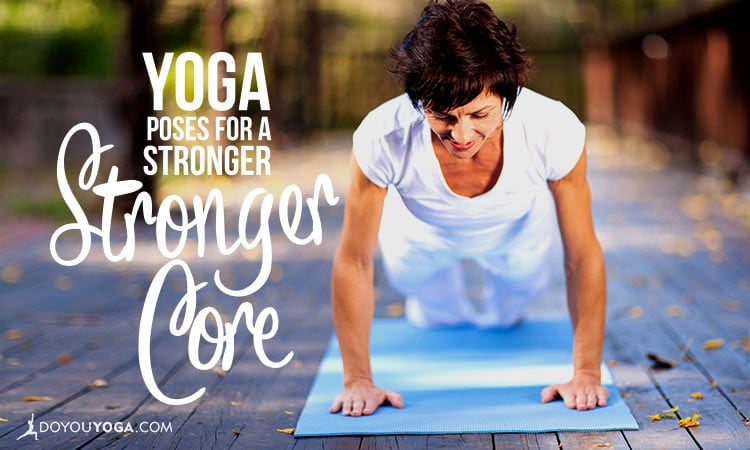
1. Plank Pose

Most vinyasa students are familiar with plank pose from the constant repetition of it in class, but a lot of students tend to slump into the pose or go through it fast to get it over with—not building strength in the process and pushing into the joints, rather than the muscles.
You might find yourself pushing with your arms and not engaging the core. Try this: Begin from Downward Dog and bring your body forward until your shoulders are over your arms. Your shoulders, elbows and wrist should be in line. If you need more extension, walk your feet back and hold.
Pay attention to your center, bring your belly in and up and breathe. Keep the back long, legs active and press back into your heels. Start with one breath and build it up until you are able to hold the pose for 5 – 10 breaths. Push back to Downward Facing Dog. Repeat three times.
2. Forearm Plank
Yes, it’s another plank pose, but this one can be more challenging than regular plank. Come to your knees and bring your forearms to the mat, keep your arms shoulder distance and your elbows under your shoulders.
Bring your palms to the mat, also keeping them shoulder width and walk your feet back until your spine is extended and your hips are leveled. Like regular plank, hold the pose for up to 5-10 breaths, building up to it by starting with one breath and increasing as you get stronger.
To come out of the pose, you can come down to your knees for a few breaths in child’s pose or push back into Dolphin pose. Repeat three times.
3. Navasana – Boat Pose & Variation
Come to a seated position with your knees bent, feet on the floor. Bring your hands to the back of your knees and hold them there. With an inhale, lift your feet off the mat. Release your hands and extend your arms forward as you balance on your sitting bones keeping your feet as high as you can up to knee high, but if it feels impossible, keep them lower at first.
Over time, you can build up strength to bring the feet higher. Don’t let your back round. Keep lifting through your sternum. You can stay here at first without going any further. Once this feels comfortable (and don’t worry, it can take days, weeks or even months for it to happen), try extending your legs so that your body is shaped like a V.
Use your abdominal muscles to hold you up. Keep your gaze on your feet. Hold for 5 breaths. When this begins to feel comfortable, you can try to slowly lower your legs and back to the mat, bringing your feet about a foot off the mat and your shoulder blades to the mat while keeping the shoulders, neck and head lifted, then lifting back up to boat. Repeat three times.
4. Trikonasana – Triangle Pose Variation
Walk your feet about 3-4 feet apart, bringing your arms out so you resemble a starfish. Turn your right foot out 90 degrees, rotating the right leg to your right, knee facing the same direction as the right foot.
Turn your left foot in, toes facing the same direction as your left knee. Begin to extend your torso to the right, bending at the hip so that your right ribs come over the right leg. Bend about half way, keeping your right side ribs parallel to the floor.
Now turn your right palm up towards the ceiling, bring your left arm up and over, and reach your arms forward as if you were holding a beach ball between your hands, keeping your head between the arms and the neck long. Don’t let your left shoulder roll forward. Hold it for 5 breaths. To come out, lift your torso, extend your arms out to the sides and repeat on the other side.
Try these poses for a few weeks and see if it makes you feel stronger and changes your practice. Remember to keep the breath slow. Don’t try to rush through the poses, but rather, pay attention to how your body feels in each pose and where the work is occurring.


