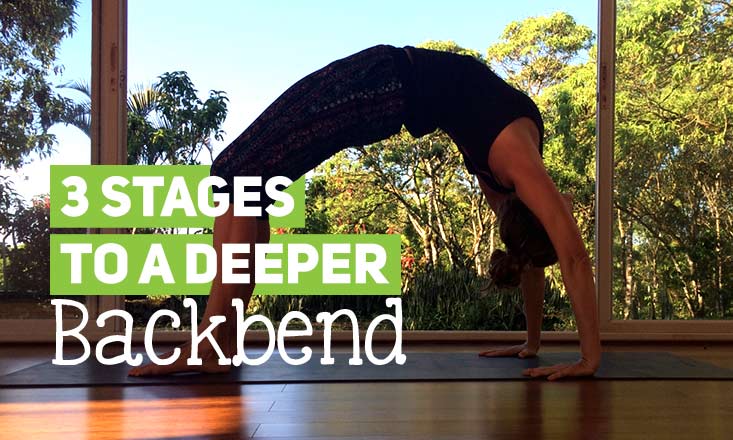
When I first started practicing backbends in yoga, I would push up into Full Wheel Pose (Urdhva Dhanurasana) in one motion using a little bit of strength and a whole lot of momentum. I usually made it all the way up and it would feel magical, but most of the time my lower back felt a twinge of pain.
Then, I started taking yoga classes that offered a lot more alignment, and it was like I was relearning all of the poses from scratch—especially the way I did backbends.
Backbend Rehab
I learned to organize myself before coming up, moving deeper into my upper back and creating an even arch, rather than a crease in my lower back. What definitely made it more difficult was that I could no longer use momentum and had to use the strength of my shoulders, arms, and legs to push up.
However, once up, not only did I experience freedom in my low back, I was also deeper into the pose than ever before.
Rather than calling them “backbends” in class, which I find a bit deceiving as it implies a bend in your back, I like to refer to the whole set of postures as “heart openers” so that my students understand that the aim of the pose is to open the chest.
The lumbar spine (or low back) is relatively more mobile than the thoracic spine (or upper back), which also happens to be very stiff in most adult bodies. Therefore, we tend to overarch the lower back, which is concave to begin with, in poses such Urdhva Dhanurasana—and this often causes discomfort.
To counteract this, the key is to curl deeper into your upper back before even coming up, and to use your legs strongly. Ready to learn how? Make sure you warm up appropriately before attempting these following steps to a deeper yoga backbend.
1. Set the foundation.
 Credit: Meagan McCrary
Lie on your back with the soles of your feet flat on the floor, underneath your knees, hip width apart, and parallel to the sides of your mat. Bend your elbows and place your hands just above your shoulders with your fingertips pointing toward your heels and fingers spread wide.
Note: If you have tighter shoulders, feel free to place your hands further apart than shoulder width and turn the fingers out slightly.
2. Pause on the top of your head to curl into your upper back.
 Credit: Meagan McCrary
Inhale and press firmly down into the four corners of your feet, and lift your hips and low back off the mat into a mini Bridge. Pause. On your next inhale, press evenly down through both hands and lift your upper torso off the mat, placing the top of your head lightly on the mat.
Energetically hugging your elbow tips towards one another so that they point straight back, draw your arm bones back into their sockets and your shoulder blades onto your back—curling deeper into your upper back and rolling toward your nose.
3. Press up.
 Credit: Meagan McCrary
Pushing down into the four corners of your feet and evenly throughout the palms of your hands, straighten your arms, lifting the crown of your head off the floor and coming up into Full Wheel Pose.
Note: Keep your feet parallel here and use your legs. The tendency is for the feet to turn out on the transition, closing off the low back.
After a few rounds of breath, slowly begin to re-bend your elbows and tuck your chin toward your chest, and lower your torso back to the floor.
A Backbend Modification for Tight Shoulders
For those of you with tighter shoulders or not enough arm or shoulder strength, try using two blocks at the wall. Wedge the blocks a bit wider than your shoulders into where the floor meets the wall. Then lie on your back with your head between the blocks (crown of the head nearly touching the wall).
Place your feet the same as above and the heels of your hands on the blocks. Point both elbow tips up to the ceiling and draw your shoulder blades back. Then, press up to the crown of your head and repeat the same actions as above.
So, how did these instructions affect your backbend? Share your experiences with the DOYOU community!


