When I started teaching yoga over ten years ago, I had a background in anatomy but I was not truly bringing it into my teaching. Now, as I’ve added to my studies in anatomy and starting teaching it to teachers in person and through my online courses, it’s a huge part of my teaching style.
You can teach an alignment-based flow but if you’re not familiar with the anatomical concepts behind it, it’s hard to understand what you’re saying and why. It also becomes harder to recognize anatomically high-risk actions we can teach when on the mat. So, even if you’re not passionate about anatomy, it can be helpful to bring some basic ideas into your yoga teaching.
Here are two anatomical based concepts to consider adding to your teaching.
1. To move from High to Low Push Up with greater integrity, use your serratus anterior.
It is amazing to me how many pieces there are to moving from High to Low Push Up with integrity, strength, and safety. It’s one of those movements that we do a great deal, is found in just about every yoga class, and is potentially filled with anatomical pitfalls.
Plus, if we don’t share key actions with our students and really understand what’s going on under the skin, this movement can be really frustrating for them.
One of the major actions we teach is to “keep the elbows close to the body when moving from High to Low Push Up. Why do we suggest this? One of the key reasons is to prevent the shoulder blades from riding UP on the body, as if you were hunching over your desk or computer.

We want to keep the shoulder blades FLATTER on the back to allow the movement to be stronger, steadier, and without the additional compromise to the neck of scrunching the shoulders blades up towards the head. Why would we ask people in yoga class to revisit the same unhealthy posture they have all day?
In order to prevent the shoulder blades from riding UP, we need to fight the action of the muscle that does this: the trapezius. One of the actions of the trapezius is to LIFT or ELEVATE the shoulder blades. To fight this urge, we need to activate our serratus anterior, a muscle that literally connects the ribs to the shoulder blades and keeps them “suctioned” to the back.
To activate the serratus anterior, we need to keep the elbows in, close to the body. If the elbows go up, the shoulder blades do too. Try it! Lift your elbows out to the sides like wings and feel your shoulder blades lift. Keep your elbows in and feel how your shoulder blades stay closer to your back. It also helps to press down into the ground as you lower, versus collapsing into it.
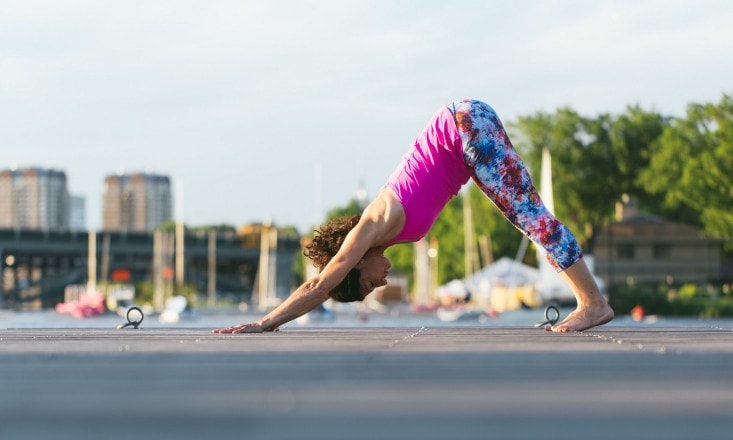
2. To stretch your hamstrings in a healthy safe way, keep your knees a little bent in your Downward Facing Dog.
Many people come to yoga class feeling that they’re tight and inflexible. They use the example, “I can’t even touch my toes!” to demonstrate how tight they feel. People generally know that this can be due to tight hamstrings so once on the mat, they straighten their legs to the fullest extent, committed to stretching their hamstrings through this action of completely straightening the legs.
While the intention is honorable, the action might actually cause injury and prevent the stretch they’re attempting to get.
The hamstrings are one muscle group comprised of three individual muscles: the semitendinosus, semimembranosus, and biceps femoris. Together, their main action is to flex the knee. They also act to extend or stretch the hip. (Note: the biceps femoris has two heads–long and short–and the short head does not extend the hip). In the picture below, the view is of the back of the right leg.

Each section of the hamstring muscle group starts on the sitting bones or ischial tuberosity (except for the short head of the biceps femoris) and ends on the lower leg bones, the tibia or fibula (depending on which part of the muscle you’re referring to).
When a student comes into a pose like Downward Dog and flattens their feet and presses up into their hips with full force, all in an effort to “stretch” their hamstrings, what they may end up doing is actually tearing the muscle away from the sitting bones.
If we think of each muscle as starting at one point, its ORIGIN, and ending at another, its INSERTION, we can then apply the idea of how a full stretch could pull the muscle, even in small ways, off from it’s starting point. If we were to slightly loosen the muscle from this starting point, depending on how much we did it, we could potentially still stretch it but not set up a situation where we might tear it off its origin.
So, in order to create a healthy stretch, we need to give a tight muscle some “breathing room.” This can be accomplished by bending the knees. While bending the knees, KEEPING THEM BENT, and concurrently lifting the sitting bones, we can stretch the hamstrings without creating little tears on the origin.
Additional Tips
It also helps to lift the heels a little bit. Anytime we completely flatten the feet in Downward Dog, while pressing up into the hips with full force, the spine typically will bend outwards, as in Cat Pose (unless we are very flexible).
This is usually the body’s way of telling you that you’re pushing too hard and it’s looking for a way out.
There are many points in our teaching where we can introduce these concepts. The more we know about what goes on under the skin, the better we can assist our students as they move from pose to pose. This also brings a deeper layer of understanding to the alignment tips we offer.
Images courtesy of Karen Fabian