Warrior III is one of those poses that requires everything you’ve got — strength, focus, and willpower — to appropriately align, balance and stay light.
After over a decade of practicing yoga, I still find it one of the most challenging poses. To say the pose is demanding is putting it lightly.
Strengthening the ankles, legs, shoulders and back muscles, along with toning the core, Warrior III requires a strong commitment in the standing leg and a significant lift of the low belly to clear the hip flexors. (Ever feel a pinch in the front of the standing hip in Warrior III? Chances are you’re not clearing the hip flexors.)
That’s not to say that you can’t balance in the pose out of alignment. In fact, I see many students balancing in Warrior III haphazardly. But it’s a struggle. And often uncomfortable. At the very least, they aren’t experiencing the freedom (yes, freedom) of a steady, aligned Warrior III.
Common Misalignments
Let’s take a closer look at why that is. Almost inevitably, the standing leg in a Warrior III pose begins to turn in, sending the hip out to the side and bringing the outer thigh forward.
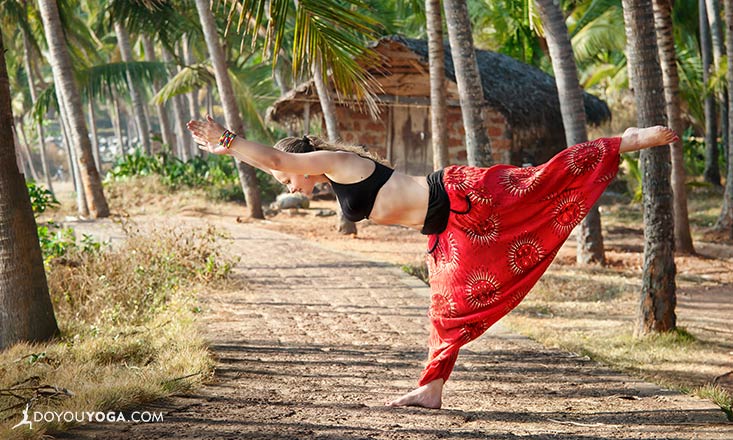
With the standing hip out of alignment, it’s nearly impossible to square the hips and torso parallel to the floor without torquing the knee. (Warrior III is performed with the raised leg, torso and arms relatively parallel to the floor, lifting up and out of the standing leg.)
The tendency is to dump, and rest, all of your body weight into the standing hip, hyperextending the standing knee, closing off the front of the hip joint and hip flexors and tightening the muscles along your outer leg (think IT band).
Finding Freedom In Warrior III
Use the following steps to realign and find lightness in your Warrior III, but remember, I warned you — these actions, although simple, aren’t easy to perform so when you’re no longer able to maintain them come out of the pose.
- First things first, bring your hands to your hips and make sure your standing foot is straight (especially if you’re entering the pose from Warrior I).
- With the foot straight, lightly bend your standing knee and widen it toward the pinkie toe side of your standing foot — turning the four corners of your knee straight forward.
- With the standing knee still bent, giving you more access to the muscles of your leg, strongly pull back through your outer hip, hooking it back toward the raised foot.
- Turn the outer hip of the lifted leg down toward the floor until both sides of the hips are level, bringing your torso parallel to the floor.
- Keeping your hips level, engage your thigh muscles and re-straighten your standing leg.
Have you applied these tips to your Warrior III? Do you have any tips for Warrior III? Share with us below!