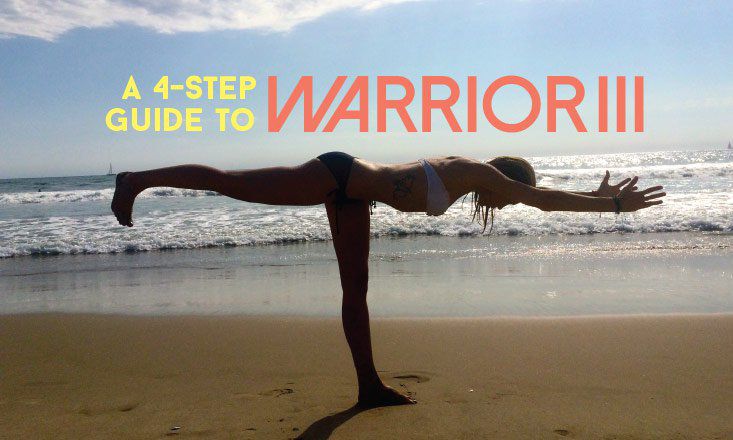
Beginner, advanced, total newbie — Warrior III is a hard pose. Teachers love to throw the balancing pose into their sequence like it’s no big deal, when in reality it’s a very demanding pose that requires strong focus and determination to align.
That being said, once broken down and approached systematically, balancing in Warrior III Pose can actually be a fun flying experience.
And since there isn’t much time in most classes to spend on it, I’ve put together this beginner’s guide to Warrior III (along with a few helpful tips and variations) for you to try on your own. All you need is your mat, a pair of blocks, and a wall.
1. Start in Forward Fold
Begin in a Forward Fold with your spine extended and back flat, arms straight and fingertips directly under your shoulders.
Bend your knees slightly to engage your legs as you press down through the inner edges of your feet — using your legs to support the extension of the spine.
2. Start Lifting
With your back flat, press down into your right foot, inhale, and slowly lift your left leg straight back. Spread through the toes of your lifted foot and press out through the heel to keep the top leg engaged.
Reorganize: Slightly bend your standing knee and lower your outer left hip towards the floor, engage your right leg, pull back through the outer thigh bone, and lift your right belly off your right thigh.
(Figuring out how to reorganize in Warrior III is tough. Practice with both hands on the block a few times before moving on.)
3. Extend
Now that you’ve organized your pelvis and top leg in Warrior III, the next step is to practice extending an arm.
Keep pressing down through your right foot and standing leg strongly engaged. Inhale and slowly begin to extend your right arm forward to the front of the room, bringing your upper arm in line with your right ear.
Press out through your lifted heel and keep a lift through your left chest. As you extend your right arm forward, pull back through your outer right hip, lengthening your side body.
4. Try the Full Pose!
Once you’ve got the above actions down its time to try the full pose.
From step 3, inhale and lengthen your left arm forward, bringing your upper arm in line with your left ear.
Keep everything engaged! Your bottom leg, top leg, arms, core, back muscles — everything is working in Warrior III.
Some Variations to Try
There are a handful of different arm variations in Warrior III, with arms extended out in front probably being the most difficult. Try bring your hands to your hips or in prayer at your heart, pressing your palms together to help with balance. You could also airplane your arms out to the sides or alongside your torso, one of my favorites.
For a nice, supported Warrior III, bring your palms up to the top of your standing thigh and press your arms straight to keep your chest lifted and spine extended.
And as always, remember to keep a sense of humor. Warrior III is a hard pose so don’t become discouraged and keep practicing these steps; eventually you’ll be flying!


