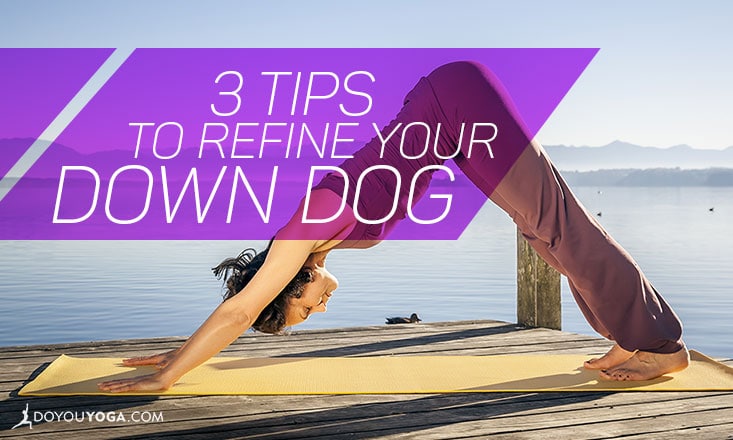
As I look around the room in my classes (and I teach a lot of classes and see a lot of bodies in Down Dog), I can’t help but cringe a little at the undue tension I see students creating in their necks, traps and shoulders in Downward-Facing Dog.
For arguably being the one pose we do the most, there seems to be a lot of confusion on exactly what Down Dog pose is and how it’s done. There’s even discrepancies amongst us yoga teachers as to the placement of the hands.
Some say to place your hands outer shoulder-distance apart or wider, while others will tell you that your hands are placed too wide. Ultimately it’s up to you to find the alignment that works best for your body, that allows you equal amounts of freedom and stability, and that doesn’t cause more tension when you walk out of the class.
What Takes Place in Your Body in Down Dog
So let’s take a closer look at what’s actually taking place in Downward Dog. First and foremost, the purpose of Downward-Facing Dog is to lengthen the spine; followed by opening the backs of the legs as well as the thoracic spine (which is the space between the shoulder blades).
Down Dog is NOT meant to be a shoulder stretch—stop going after a strong sensation in your shoulders. And stop squeezing your shoulder blades onto your back.
3 Quick Alignment Checks
In order to keep your neck long and your traps free, a few things must happen:
- Your spine HAS to stay long (that means no rounding in the back).
- Under arms must stay lifted.
- Tops of the shoulders must broaden out.
If you are working your hands in Down Dog, spreading your fingers and rooting down through the inner edges of your palms, your shoulder blades are already on your back. You don’t need to squeeze them in toward your spine.
Instead, press through the palms and allow your outer shoulder blades to slide up your back. Then, broaden your collarbones and allow your neck to lengthen out of your shoulder girdle. No turtle necking.


