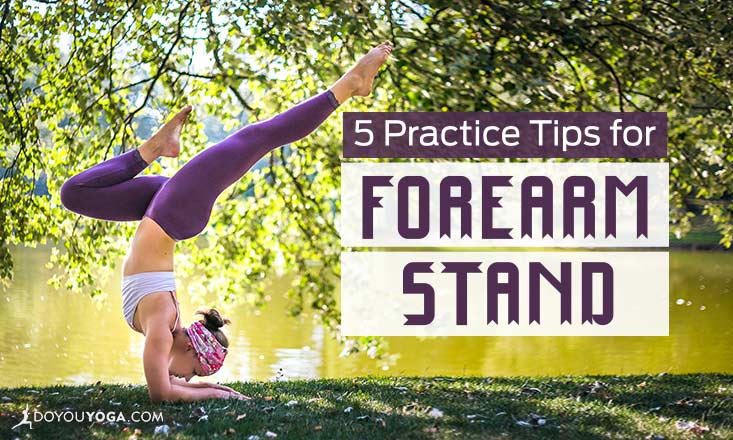
Forearm Stand can be an ideal solution for those scared of the pressure headstand might put on the neck. However, it is quite a challenging pose, and requires more strength and coordination than headstand.
Try these five tips to master your technique and get further toward inverting!
1. Know How to Come Out of the Pose
 It might seem like jumping ahead to know how to come out of the pose before getting in, but it is crucial for safety. When you throw yourself up into forearm stand without the proper technique at first, chances are you will fall. That’s why we need to consider safe ways of catching your fall. The simplest is using a wall to support your feet as you lift up, so that you don’t fall back.
Once you begin practicing without a wall, it is good to know how to softly land if you begin to topple back. When you start to feel as if you were falling, bend the knees and arch the back so you come into a half wheel pose, landing the feet softly behind you.
To prevent falling back altogether, lift your chin and head more forward, so that your weight placement shifts and you can bring your feet down the easy way.
2. Arm Placement
 The setup of the arms is one of the keys to success in this pose as it is your base and support.
To find the proper arm position, it is helpful to use a yoga block against a wall at first. Place the triad (the “L” shape between thumb and index finger) of the hands on either corner of the block, so that the block faces you at its longest position.
Press the block right up against the wall and come onto your forearms as you normally would for forearm stand facing the wall. The addition of the block will give you the proper width of foundation and will prevent your arms from sliding out of place.
If you don’t have a block, grab opposite elbows, place them on the floor, then release the grip and slide your palms forward. Keep the elbows where they are; this is the correct width. Now the tendency here is for the elbows to splay out, so you want to keep hugging them isometrically in, pressing into the ground firmly so that your shoulders lock solidly into place.
3. Dolphin Prep
 To get into forearm stand, we come into Dolphin Pose first, as it is a great place to stay and work on your upper body placement. Dolphin is essentially, Downward Facing Dog on your forearms.
With the arm placement we just established, tuck the toes and lift the hips up, straightening out the legs to an inverted letter “V” shape. You might need to walk your feet in closer than you would with Down Dog.
Continue to press the forearms into the earth and hug the elbows in, shifting your gaze between the palms when you are ready to float upward.
4. Don’t Kick, Float!
 Once in Dolphin, start to walk your feet closer to your hands, coming up onto the toes. As the hips start to stack above the forearms, lift one leg up high.
Rather than hopping up, flex the top foot and press the heel up and back. Draw in through the abdominals as you lift the leg further back until the bottom foot begins to float off the floor.
If you can float the foot, slowly bring it up to meet the other leg. If you have to hop to get up, your core might not be strong enough, so stick with this one leg prep and supplement with Forearm Plank to strengthen.
5. Grab a Partner
 Utilizing a partner is a great way to get into the pose other than using a wall. From the one legged prep, have your partner hold the lifted ankle and encourage the lifting and kicking back action until the other leg lifts.
Once the partner has both ankles and you feel stable, have them place their fist between your ankles. They can let go and you should be able to stay floating if you maintain the hug of the inner thighs by squeezing their wrist. You want to create this same hug when you get to practicing on your own by squeezing the big toes together.
To release, have the partner hold onto the hips, so that you can hinge from the hips to lower.
I hope these tips will help you on your way to inverting, but remember, these things take time and lots of practice. Move through each step progressively, and you’ll be on your way!